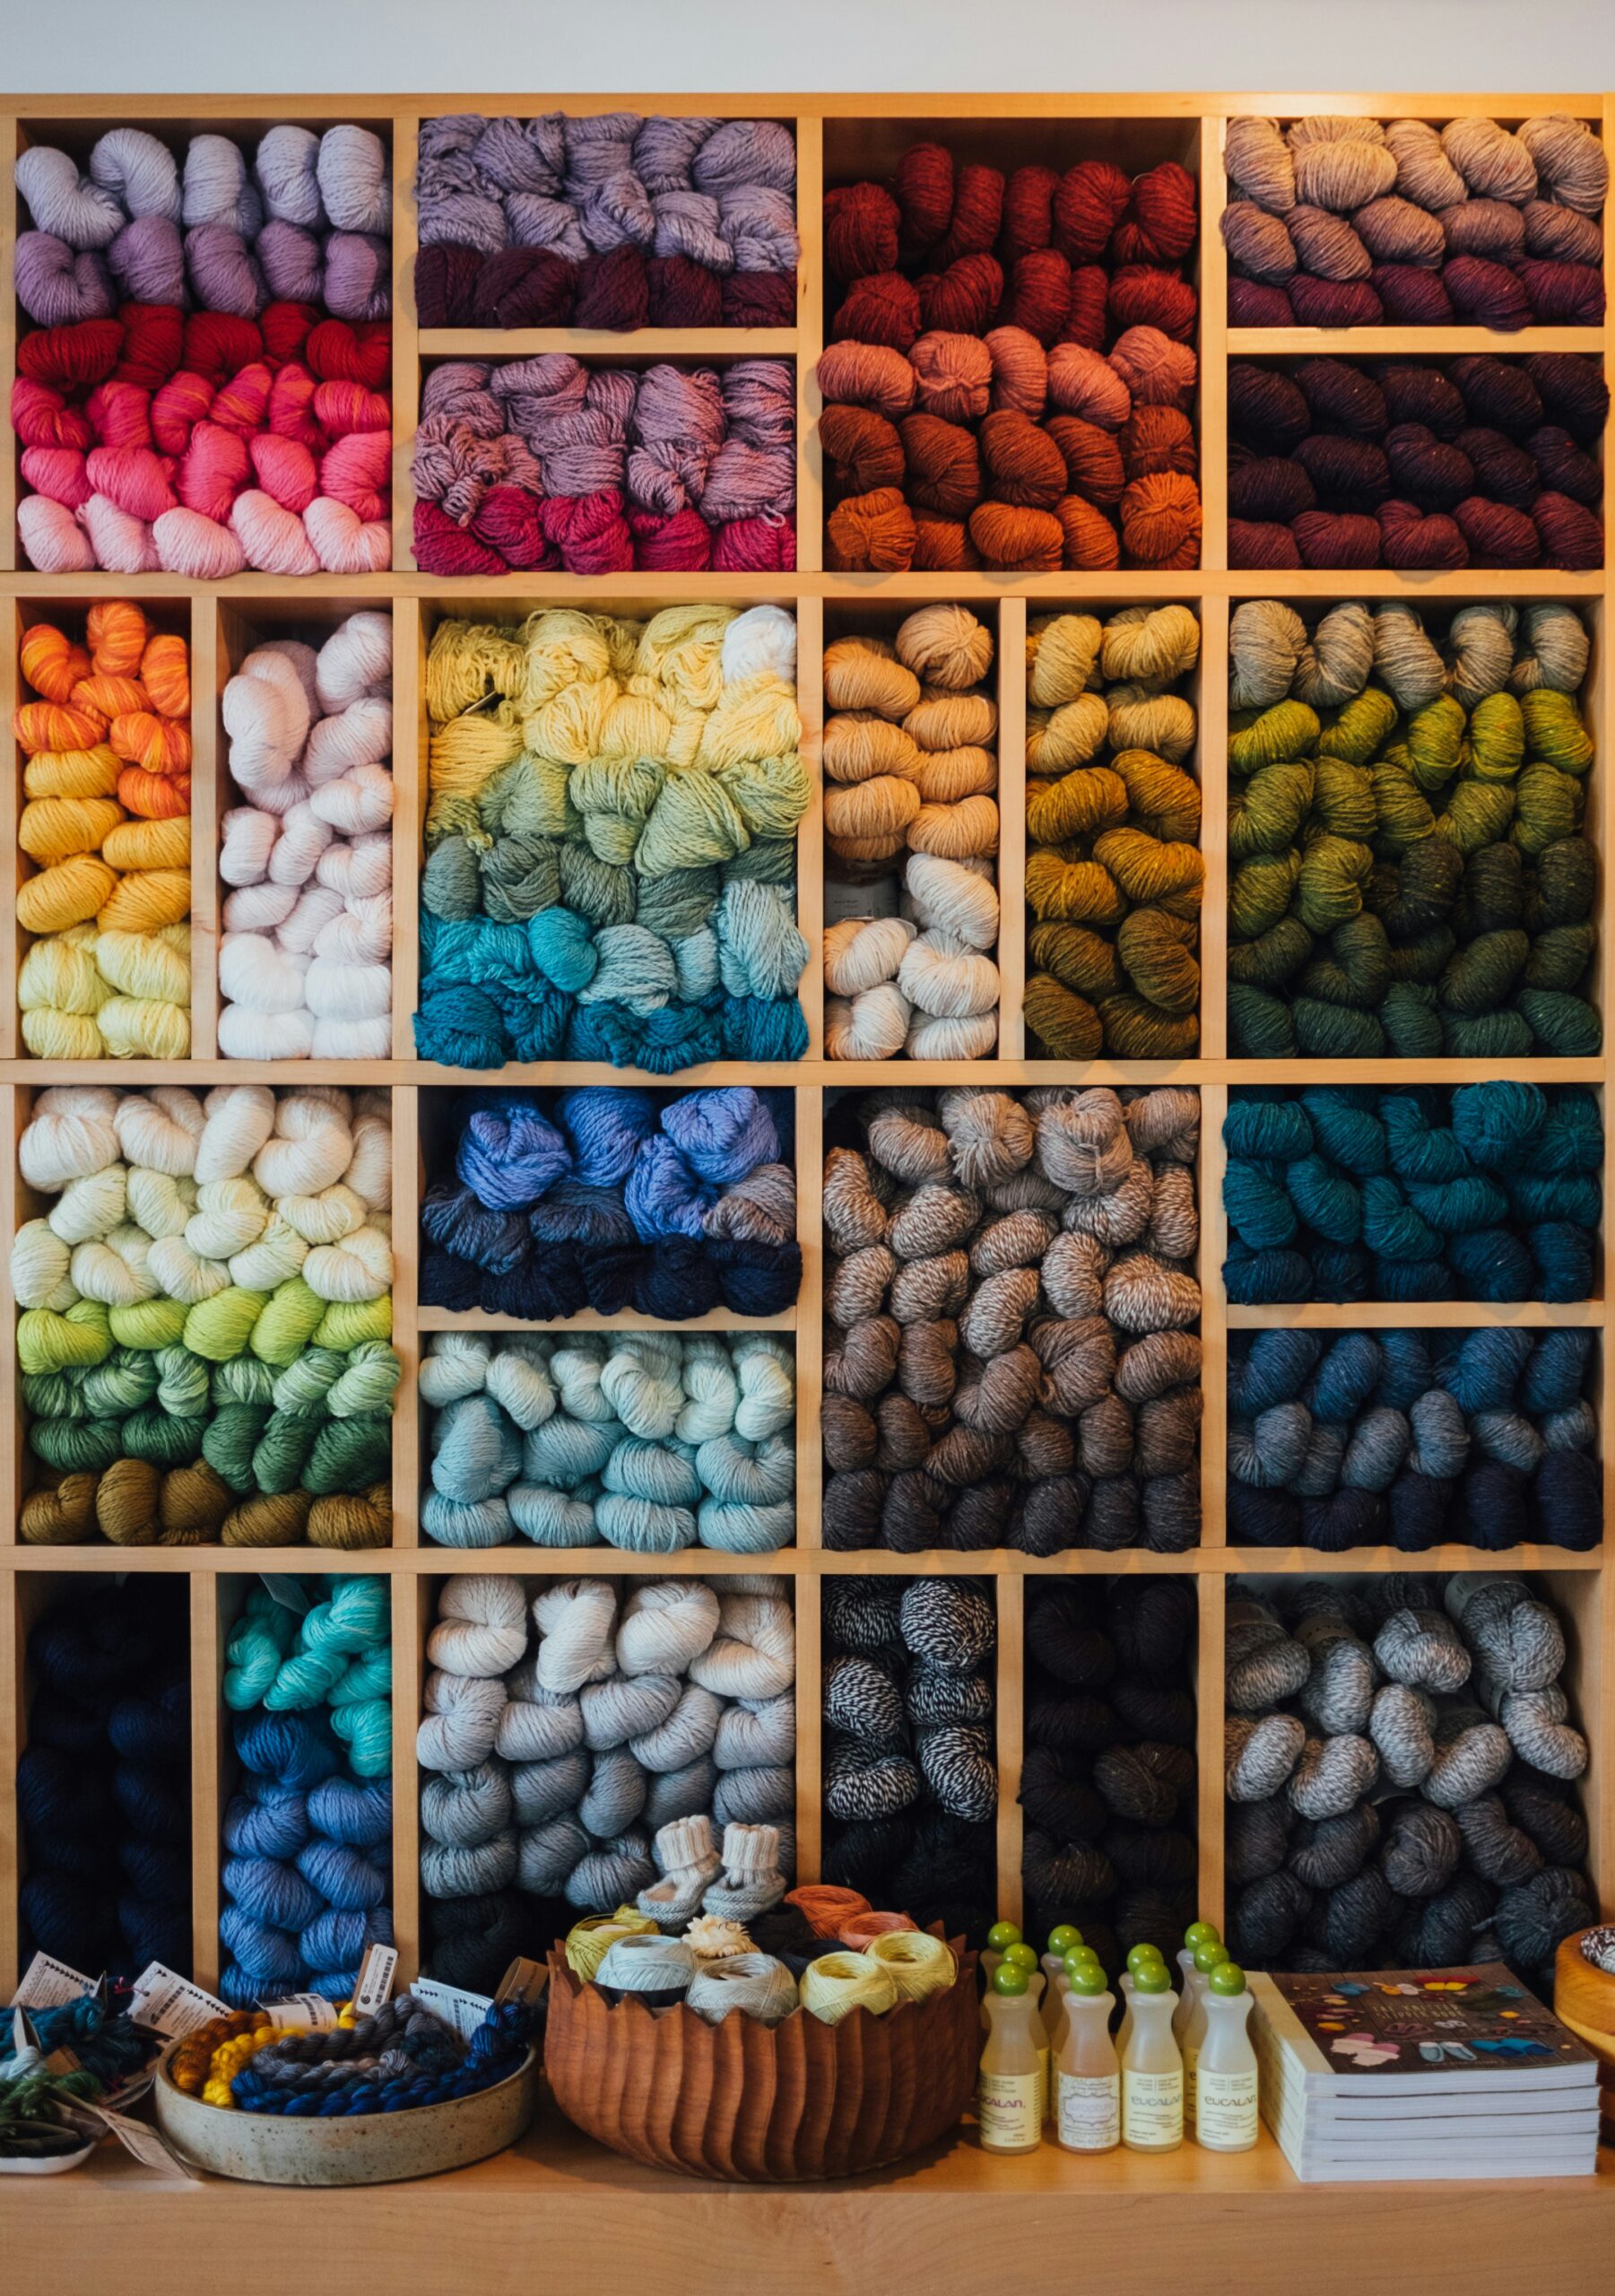
Are you guilty of snagging irresistible yarn deals without considering where you’ll store your new treasures? We’ve all been there, with bags of yarn piling up in corners, creating a chaotic mess that makes it impossible to appreciate our yarn stash fully. It’s time to turn that yarn chaos into a source of pride! Follow these steps to transform your yarn storage into a visually appealing and organized showcase of your fiber collection.
Step 1: Gather and Sort Your Yarn Stash: Start by gathering all your yarn in one place, perhaps your bed. That will give you extra motivation to complete this organization project so you can go to sleep. Once you’ve collected ALL the yarn in your house, use bags or boxes to sort out any trash (labels and yarn bits) into one container and items for donation into another. Recently, I decided to donate all my rug yarn because I will NEVER make the time to knit another rug! Now, the fun begins! Sort your yarn stash by weight, making it easy to locate the perfect yarn for your next project. For added visual appeal, arrange the yarn by color within each weight category.

Step 2: Taming the Little Skeins: Those pesky little skeins and leftover partial-skeins can turn your yarn stash into a tangled mess. De-tangle and wind them into neat balls. Be sure to secure the balls with a hair clip or rubber band to keep them from unwinding. Then corral them into a beautiful basket or multiple baskets that fit nicely on your yarn shelf. This step not only hides the mess but also makes it convenient to grab when working on small projects or scrap blankets.
Step 3: Organize Your Handmade Items and Inventory: Extend your organization efforts beyond your yarn stash to your completed handmade items and inventory. Even though I don’t usually sell my completed items, I always seem to have completed items laying around. Gifts waiting for someone’s birthday, charity knitting projects, even seasonal decorations need a home. Create designated spaces for prototype items, works in progress, inventory pieces, and personal finished projects. This step ensures that everything has its place, making it easy to locate what you need.

Step 4: Embrace Display over Storage Bins: While storage bins might seem convenient, they don’t allow your fibers to breathe, potentially imparting odors to your cherished yarn. Displaying your yarn stash on shelves not only prevents this issue but also allows you to fully appreciate your creative endeavors. Your yarn and handmade items become a piece of art, inspiring and enhancing your crafting experience.

Step 5: Choose the Right Shelving: When it comes to displaying your yarn stash, opt for cubed shelves for a detailed categorization by fiber, color, and weight. For your stock and inventory, a regular bookshelf offers visibility, allowing you to see your creations at a glance. By turning your collection into a visual art display, you’ll spend more time creating and less time rummaging through bins.
Maintaining Your Organized System: To ensure your newfound organization lasts, develop a system for recording and updating your inventory. Whether you’re using a digital tool or a physical catalog, this step is vital. Knowing how many yards, fiber content, even lot numbers helps when planning projects. Always record more information than you think you need and keep your records current. Make it a habit to update your inventory with every skein used or purchased. This way, your record remains current and continues to serve as a useful tool for your crafting adventures.

This Essential Knitter’s Companion has a great section for recording your yarn stash!
Cleaning and organizing your yarn stash might not be the most glamorous part of your creative journey, but the benefits are undeniable. By transforming chaos into order, you’ll unleash a more creative mind and find joy in showcasing your beautiful collection. So, roll up your sleeves, follow these steps, and let your yarn stash become a source of inspiration and pride!

